
When building complex applications in React, managing state becomes a critical aspect of our app’s behavior.
Sometimes, managing state with the simple useState hook is sufficient, but as our application grows, we might need a more structured way to handle state, especially if we have many different types of actions. That’s where the useReducer hook comes into play.
In this article, we will explore the useReducer hook in ReactJS, understand how it works, and look at real-time examples to help us get familiar with it.
What is useReducer ?
In simple terms, useReducer is a React hook that helps us to manage more complex state logic compared to useState.
It is based on the reducer pattern, which comes from Redux (but doesn’t require Redux to use).
Instead of calling setState directly, we use dispatch to send actions to a reducer function, which then calculates the next state based on the action and the current state.
Syntax of useReducer
The basic syntax for useReducer looks like this:
const [state, dispatch] = useReducer(reducer, initialState);state: This is the current state value.dispatch: A function we call to trigger actions that will change our state.reducer: A function that contains the logic to update the state based on the action.initialState: The initial value for our state.
Let’s break it down with an example.
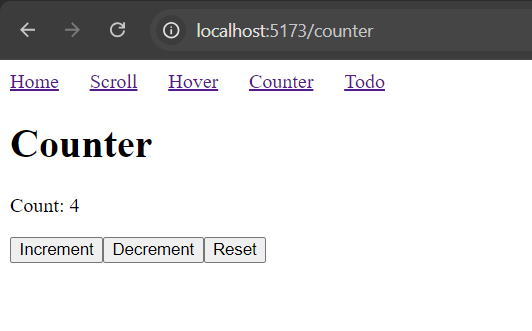
Example 1: Simple Counter using useReducer
Let’s start by using useReducer to implement a counter.
We’ll create a simple app where we can increase, decrease, and reset the counter.
Step 1: Define the Reducer
A reducer is just a function that accepts two arguments:
- The current state
- An action that describes how we want to update the state
The reducer returns a new state based on the action.
function counterReducer(state, action) {
    switch (action.type) {
        case 'increment':
            return { count: state.count + 1 };
        case 'decrement':
            return { count: state.count - 1 };
        case 'reset':
            return { count: 0 };
        default:
            throw new Error(`Unknown action: ${action.type}`);
    }
}- If the action is
'increment', we add 1 to the count. - If it’s
'decrement', we subtract 1. - If it’s
'reset', we reset the count to 0.
Step 2: Set Up useReducer in Our Component
Now that we have the reducer function, let’s use it in our component:
import React, { useReducer } from 'react';

function Counter() {
    const initialState = { count: 0 };

    const [state, dispatch] = useReducer(counterReducer, initialState);

    return (
        <div>
            <p>Count: {state.count}</p>
            <button onClick={() => dispatch({ type: 'increment' })}>Increment</button>
            <button onClick={() => dispatch({ type: 'decrement' })}>Decrement</button>
            <button onClick={() => dispatch({ type: 'reset' })}>Reset</button>
        </div>
    );
}

export default Counter;
Step 3: How It Works
- We define the initial state as
{ count: 0 }. - We use
useReducerto give us the current state (state) and adispatchfunction. - When the buttons are clicked, we call
dispatchwith an action object, like{ type: 'increment' }, and the reducer updates the state based on this action.
Let’s create another example.
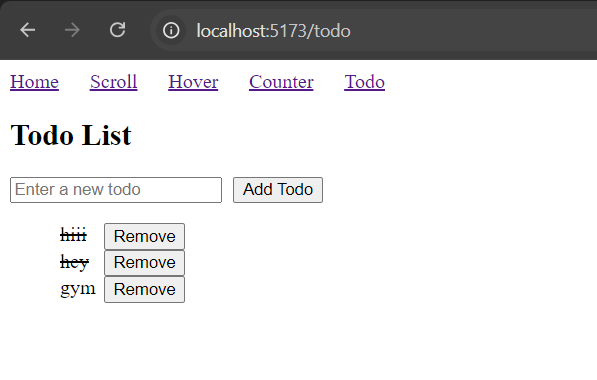
Example 2: Managing a Todo List with useReducer
Let’s take another example: managing a simple todo list.
We will add todos, remove them, and mark them as completed. This example will demonstrate how useReducer can help us manage more complex states.
Step 1: Define the Reducer
function todoReducer(state, action) {
    switch (action.type) {
        case 'add':
            return [...state, { id: Date.now(), text: action.text, completed: false }];
        case 'remove':
            return state.filter(todo => todo.id !== action.id);
        case 'toggle':
            return state.map(todo =>
                todo.id === action.id ? { ...todo, completed: !todo.completed } : todo
            );
        default:
            throw new Error(`Unknown action: ${action.type}`);
    }
}
Step 2: Set Up the useReducer Hook
Now that we have the reducer function, let’s use it in our component:
import React, { useReducer, useState } from 'react';

function Todo() {
    const [state, dispatch] = useReducer(todoReducer, []);
    const [text, setText] = useState('');

    const handleAddTodo = () => {
        if (text.trim()) {
            dispatch({ type: 'add', text });
            setText('');
        }
    };

    return (
        <div>
            <h2>Todo List</h2>
            <input
                type="text"
                value={text}
                onChange={(e) => setText(e.target.value)}
                placeholder="Enter a new todo"
            />
            <button onClick={handleAddTodo}>Add Todo</button>

            <ul>
                {state.map(todo => (
                    <li key={todo.id}>
                        <span
                            style={{
                                textDecoration: todo.completed ? 'line-through' : 'none',
                                cursor: 'pointer'
                            }}
                            onClick={() => dispatch({ type: 'toggle', id: todo.id })}
                        >
                            {todo.text}
                        </span>
                        <button onClick={() => dispatch({ type: 'remove', id: todo.id })}>
                            Remove
                        </button>
                    </li>
                ))}
            </ul>
        </div>
    );
}

export default Todo;
Step 3: How It Works
- The initial state for our todos is an empty array
[]. - We use
dispatchto add, remove, or toggle the completion status of todos. - The
addaction adds a new todo with a uniqueidand sets its completion status tofalse. - The
removeaction filters out the todo with the correspondingid. - The
toggleaction toggles thecompletedstate for a todo by flipping itscompletedvalue.
Now that we understand useReducer hook in a better way, let’s create another real world example.
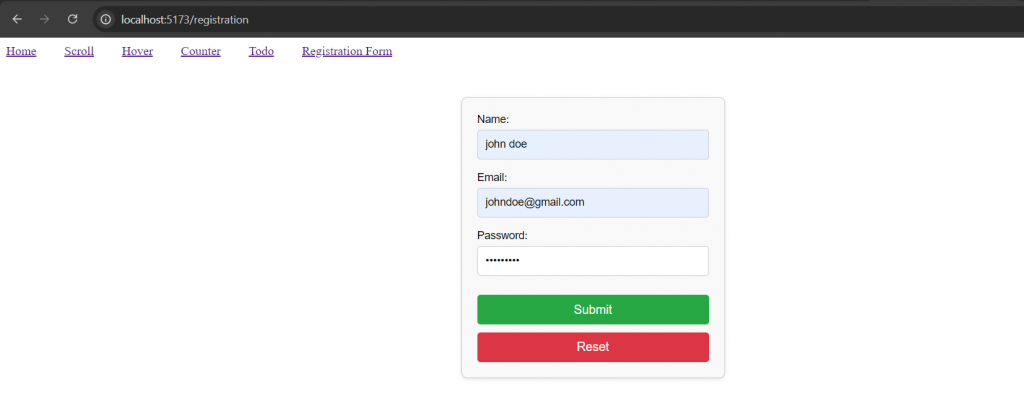
Example 3: Managing Form State with useReducer
We will create a form with fields like name, email, and password, and we’ll manage the form’s state using useReducer. Our goal is to update the form’s state as we type into the inputs, and also provide a way to reset the form.
Step 1: Define the Reducer
In this case, the reducer will handle two types of actions:
- Updating a specific field in the form
- Resetting the form to its initial state
function formReducer(state, action) {
    switch (action.type) {
        case 'update_field':
            return { ...state, [action.field]: action.value };
        case 'reset_form':
            return action.initialState;
        default:
            throw new Error(`Unknown action: ${action.type}`);
    }
}
Step 2: Setting Up useReducer in the Form Component
Let’s now create a component where we manage a form with the fields name, email, and password.
import React, { useReducer } from "react";

function RegistrationForm() {
  const initialState = {
    name: "",
    email: "",
    password: "",
  };

  const [state, dispatch] = useReducer(formReducer, initialState);

  const handleChange = (e) => {
    dispatch({
      type: "update_field",
      field: e.target.name,
      value: e.target.value,
    });
  };

  const handleReset = () => {
    dispatch({ type: "reset_form", initialState });
  };

  const handleSubmit = (e) => {
    e.preventDefault();
    console.log("Form Submitted:", state);
    handleReset();
  };

  return (
    <form onSubmit={handleSubmit} className="form-container">
      <div className="form-group">
        <label>Name:</label>
        <input
          type="text"
          name="name"
          value={state.name}
          onChange={handleChange}
        />
      </div>

      <div className="form-group">
        <label>Email:</label>
        <input
          type="email"
          name="email"
          value={state.email}
          onChange={handleChange}
        />
      </div>

      <div className="form-group">
        <label>Password:</label>
        <input
          type="password"
          name="password"
          value={state.password}
          onChange={handleChange}
        />
      </div>
      <button className="btn" type="submit">
        Submit
      </button>
      <button className="btn reset" type="button" onClick={handleReset}>
        Reset
      </button>
    </form>
  );
}

export default RegistrationForm;
Step 3: How It Works
- State Structure: Our form’s initial state is an object with three fields:
name,email, andpassword. Each of these fields starts with an empty string (''). - Action: Updating Form Fields:
- When we type in any of the form fields (name, email, or password), the
handleChangefunction gets called. - This function dispatches an action with the type
'update_field'. It passes the field name (e.g.,name,email, orpassword) and the value we are typing. - The reducer then updates the state by merging the new value for that field into the existing state.
- When we type in any of the form fields (name, email, or password), the
- Action: Resetting the Form:
- We also have a reset button that allows us to clear the form fields and set them back to their initial values.
- When the reset button is clicked, it triggers the
handleResetfunction, which dispatches the'reset_form'action. The form gets reset to its initial state ({ name: '', email: '', password: '' }).
- Form Submission:
- When the form is submitted, we call the
handleSubmitfunction. - It prevents the default form submission behavior (so the page doesn’t reload), logs the form data to the console, and then resets the form using
handleReset.
- When the form is submitted, we call the

Why should we use useReducer in Forms?
There are multiple advantages.
- Handling Multiple Fields: When managing multiple form fields,
useReducersimplifies the state management. Instead of creating individual pieces of state withuseStatefor each field, we can manage all of them in a single state object withuseReducer. This helps us keep the state logic centralized and easy to maintain. - Centralized Logic: Instead of writing multiple state update functions, the reducer handles all actions related to the form (updating fields, resetting). This makes the code more maintainable as the state logic is kept in one place.
- Scalability: As the form grows with more fields, validations, or actions, we can easily extend the reducer to handle these cases. For example, adding form validation logic or managing different form submission states (loading, success, failure) can be done by simply updating the reducer logic.
Conclusion
The useReducer hook is a powerful tool for managing more complex state in React applications. It helps us move from simple state updates to a structured approach where we dispatch actions and handle those actions in a central reducer function.
Github
The code for this article can be found out here.