
When building React applications, we often find ourselves writing the same code over and over. For example, we might need to track whether an element is being hovered over, or we might want to know the previous value of a piece of state.
React’s Custom Hooks let us bundle these bits of logic into reusable functions. In this article, we’ll walk through how we can write Custom Hooks to make our code cleaner, simpler, and easier to reuse.
We’ll also go over two unique examples: useScrollPosition, useHover.
What Are Custom Hooks?
Before diving into examples, let’s break down what Custom Hooks are.
In React, hooks like useState, useEffect, and useRef are used to manage state, side effects, and references to DOM elements. But sometimes, we need to combine multiple pieces of logic across several components.
Instead of repeating the same logic everywhere, Custom Hooks allow us to extract that logic into a function that we can reuse throughout our app.
Custom Hook is just a regular JavaScript function that follows these rules:
- It starts with the word “use” (e.g.,
useScrollPosition). - It can call other hooks inside it, like
useStateoruseEffect.
Now, let’s look at some real-life examples to understand Custom Hooks better.
useScrollPosition — Tracking Scroll Position
Sometimes, we need to track how far a user has scrolled on a page.
For example, we might want to show a “back to top” button when they’ve scrolled down a certain amount. Instead of writing the scroll-tracking logic in every component that needs it, we can extract that logic into a useScrollPosition hook.
Here’s how we can create it:
import { useState, useEffect } from "react";

function useScrollPosition() {
  const [scrollPosition, setScrollPosition] = useState(window.scrollY);

  const handleScroll = () => {
    setScrollPosition(window.scrollY);
  };

  useEffect(() => {
    window.addEventListener("scroll", handleScroll);

    return () => {
      window.removeEventListener("scroll", handleScroll);
    };
  }, []);

  return scrollPosition;
}

export default useScrollPosition;
This hook tracks the vertical scroll position of the window using window.scrollY. It sets up a listener for the scroll event and cleans it up when the component is removed from the DOM. Now, we can use this hook in any component to get the current scroll position.
Let’s see how it works:
import React from "react";
import useScrollPosition from "../custom-hooks/useScrollPosition";
function Scroll() {
const scrollY = useScrollPosition();
const scrollToTop = () => {
window.scrollTo({
top: 0,
behavior: "smooth",
});
};
return (
<div style={{ height: "150vh" }}>
<h1>Scroll Position: {scrollY}px</h1>
{scrollY > 300 && (
<button
style={{
position: "fixed",
bottom: 20,
padding: "10px 20px",
backgroundColor: "#007bff",
color: "white",
border: "none",
borderRadius: "5px",
cursor: "pointer",
}}
onClick={scrollToTop}
>
Back to Top
</button>
)}
</div>
);
}
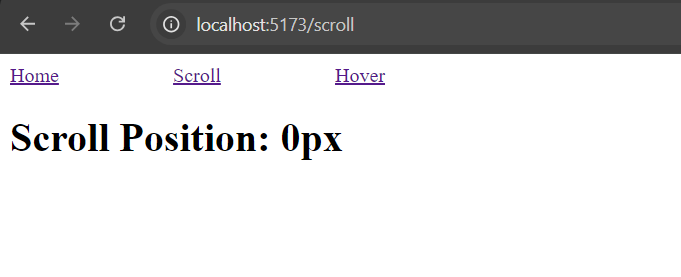
export default Scroll;Now, the Scroll component knows how far the user has scrolled and can display a “Back to Top” button once they scroll down 300 pixels.
Let’s see the output:

useHover — Detecting Hover State
In web apps, we often need to know if an element is being hovered over.
For example, we might want to change the style of a button when the user hovers over it. The useHover hook can encapsulate all the hover logic, so we don’t have to write it repeatedly in every component.
Here’s how the useHover hook works:
import { useState, useRef, useEffect } from "react";

function useHover() {
  const [isHovered, setIsHovered] = useState(false);
  const elementRef = useRef(null);

  useEffect(() => {
    const element = elementRef.current;

    if (element) {
      const handleMouseOver = () => setIsHovered(true);
      const handleMouseOut = () => setIsHovered(false);

      element.addEventListener("mouseover", handleMouseOver);
      element.addEventListener("mouseout", handleMouseOut);

      return () => {
        element.removeEventListener("mouseover", handleMouseOver);
        element.removeEventListener("mouseout", handleMouseOut);
      };
    }
  }, []);

  return [elementRef, isHovered];
}

export default useHover;
This hook returns two things:
- A reference (
elementRef) that we can attach to the DOM element you want to track. - A
boolean(isHovered) that tells you if the element is currently being hovered.
Here’s how we would use this hook in a component:
import React from "react";
import useHover from "../custom-hooks/useHover";
function Hover() {
const [hoverRef, isHovered] = useHover();
return (
<div
ref={hoverRef}
style={{
width: "200px",
height: "200px",
backgroundColor: isHovered ? "lightblue" : "lightgray",
display: "flex",
alignItems: "center",
justifyContent: "center",
}}
>
{isHovered ? "👋 Hovering!" : "Hover over me!"}
</div>
);
}
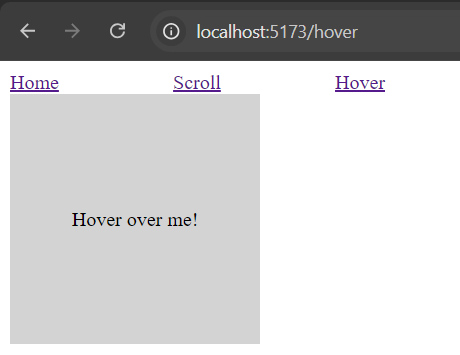
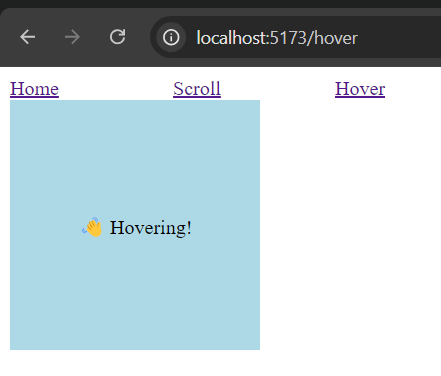
export default Hover;In this example, the useHover hook tracks whether the box is being hovered over and changes the background color accordingly. This hook can be reused in other components whenever we need to detect a hover state.
Let’s see the output:
Conclusion
Custom Hooks are a great way to make our React code more reusable and organized. Instead of repeating the same logic in different components, we can create hooks like useScrollPosition, useHover to encapsulate functionality in a clean, reusable way.
By learning to create and use Custom Hooks, we can keep your codebase simpler, reduce repetition, and make it easier to maintain.
Github
The GitHub repo can be found here