
We are going to learn:
- IValidatableObject Interface
It helps in creating custom server-side validations.
We have discussed server-side and client-side validations in detail in our previous articles. Do check them out.
Create User Form
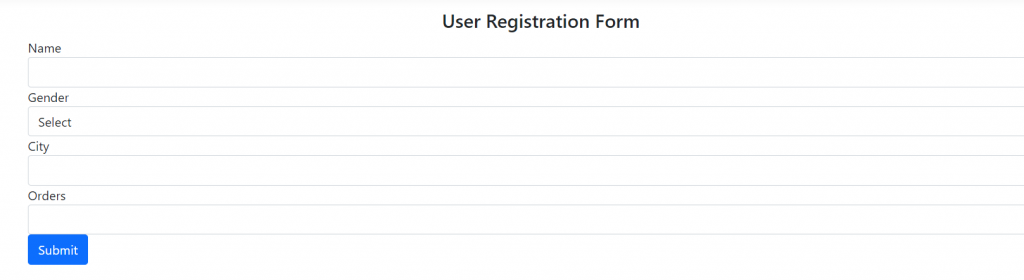
Let’s create a new user form, with a few basic fields.
@model UserViewModel

@{
    ViewData["Title"] = "User Registration";
}

<form id="UserForm" method="post">
    <h4 class="text-center">User Registration Form</h4>
    <div class="form-group">
        <label for="firstName">Name</label>
        <input type="text" class="form-control" asp-for="Name">
        <span asp-validation-for="Name" class="text-danger font-weight-bold"></span>
    </div>
    <div class="form-group">
        <label for="gender">Gender</label>
        <select asp-for="Gender" asp-items="@Model.Genders" class="form-control">
            <option value="">Select</option>
        </select>
        <span asp-validation-for="Gender" class="text-danger font-weight-bold"></span>
    </div>
    <div class="form-group">
        <label for="city">City</label>
        <input type="text" class="form-control" asp-for="City">
        <span asp-validation-for="City" class="text-danger font-weight-bold"></span>
    </div>
    <div class="form-group">
        <label for="order">Orders</label>
        <input type="number" class="form-control" asp-for="Orders">
        <span asp-validation-for="Orders" class="text-danger font-weight-bold"></span>
    </div>
    <input type="submit" class="btn btn-primary" value="Submit">
</form>
The UserViewModel contains very basic properties Name, Gender, City, and Orders. These have been decorated with Required data annotations currently to throw the mandatory validations.
public class UserViewModel
    {
        [Required(ErrorMessage = "Name can't be empty.")]
        public string Name { get; set; }

        [Required(ErrorMessage = "Please select a gender.")]
        public int? Gender { get; set; }

        [Required(ErrorMessage = "City can't be empty.")]
        public string City { get; set; }

        [Required(ErrorMessage = "Please enter required orders.")]
        public int? Orders { get; set; }

        public List<SelectListItem> Genders { get; set; }
    }
The GET action of the UserController:
       public IActionResult Index()
        {
            var model = new UserViewModel
            {
                Genders = PopulateGenders()
            };
            return View(model);
        }

        private List<SelectListItem> PopulateGenders()
        {
            return new List<SelectListItem>
            {
                new SelectListItem{Text="Male",Value="1"},
                new SelectListItem{Text="Female",Value="2"},
                new SelectListItem{Text="Others",Value="3"}
            };
        }
Let’s browse the User Form in the browser.
POST method
I have an input type=” submit ” button which will post the form to the Index POST method.
Let us create the POST method.
[HttpPost]
public IActionResult Index(UserViewModel model)
{
if (!ModelState.IsValid)
{
model.Genders = PopulateGenders();
return View(model);
}
//Once the model is validated properly, we can write code to save/update it to the DB.
//For simplicity purposes, just a content has been returned.
return Content("Validation checks have passed");
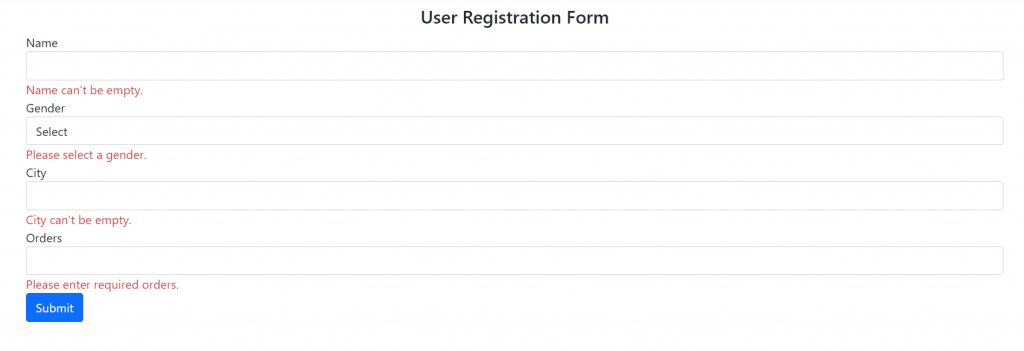
}This POST method will validate the incoming model as per the Required data annotations applied. Let’s see that in action and then we would continue to introduce the IValidatableObject Interface.
Start the app, browse to /User/Index, and click on Submit without entering any information. The validation errors should be displayed on the relevant span tags.
Adding IValidatableObject Interface
Let us add the IValidatableObject Interface and set up a few custom validations.
MSDN says that “Instances of types that implement this interface can be checked to determine if they are valid.”
We inherit the UserViewModel class with the IValidatableObject interface and implement the interface’s method in the model:
public class UserViewModel : IValidatableObject
    {
        [Required(ErrorMessage = "Name can't be empty.")]
        public string Name { get; set; }

        [Required(ErrorMessage = "Please select a gender.")]
        public int? Gender { get; set; }

        [Required(ErrorMessage = "City can't be empty.")]
        public string City { get; set; }

        [Required(ErrorMessage = "Please enter required orders.")]
        public int? Orders { get; set; }

        public List<SelectListItem> Genders { get; set; }

        public IEnumerable<ValidationResult> Validate(ValidationContext validationContext)
        {
            var customValidations = new List<ValidationResult>();

            if (Orders.HasValue && (Orders.Value < 10 || Orders.Value > 100))
            {
                customValidations.Add(new ValidationResult("Orders are messed up.", new[] { "Orders" }));
            }

            if (!Name.Contains("an"))
            {
                customValidations.Add(new ValidationResult("Name is not proper.", new[] { "Name" }));
            }

            if (!Name.StartsWith("D") && !City.StartsWith("N"))
            {
                customValidations.Add(new ValidationResult("Name and City combination fails.", new[] { "Name", "City" }));
            }
            return customValidations;
        }
    }
The method Validate returns a collection of ValidationResult objects.
We use the below constructor of the ValidationResult to create the custom validation objects.
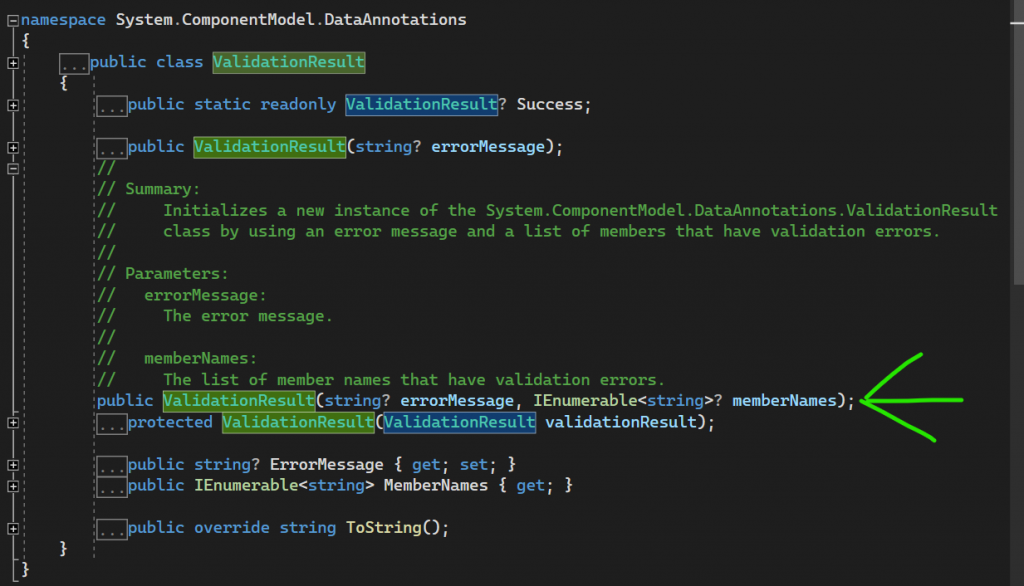
The first parameter is the error message which we want to display, the second parameter is the IEnumerable of member names underneath whom we want to display the error message.
Test case and the concept
- In our scenario, the first custom validation says that if the Order value is less than 10 or greater than 100, then raise a validation error message that “Orders are messed up.”.
- The 2nd custom validation says that if the Name doesn’t contain the string “an”, throw a validation error message saying that “Name is not proper.”.
These error messages are not ideal, these are just to demonstrate how powerful is the interface and we can construct our own custom validations of any sort.
An important point to note is that the custom validations raised by the IValidatableObject are fired when the data annotations validation conditions have been satisfied, i.e. in the above scenario, the custom validations will only be fired if all the Required validations of the model are satisfied.
It is by design – the property validations need to be satisfied first, otherwise, it may be possible that the model object itself is incomplete.
Let us fill all the mandatory fields, but enter the name “John” and Orders as “1200”. Once we click the Submit button, the custom validations will kick in and display.

We can also display a single custom validation on more than 1 input member because the overload which we use lets us use an IEnumerable.
Let’s see that in action.
if (!Name.StartsWith("D") && !City.StartsWith("N"))
{
   customValidations.Add(new ValidationResult("Name and City combination fails.", new[] { "Name", "City" }));
}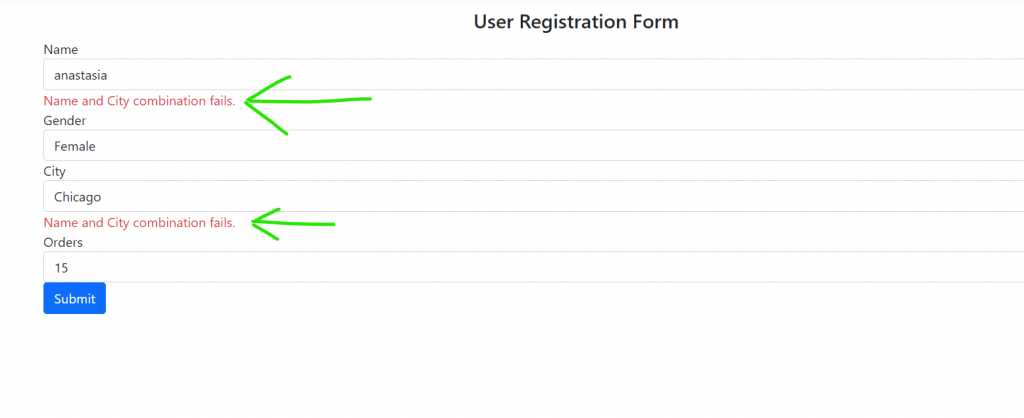
The validation message appears underneath both the Name and City fields.
In a nutshell, IValidatableObject is very powerful and helps us to construct different types of custom error messages.
Github Link
The updated code can be found here.
Conclusion
We have discussed in detail how to work with the IValidatableObject interface.
Stay tuned for the next article.